
Creating PDFs in .NET using QuestPDF


PDF creation is usually a huge pain. Whatever it is you want to create, it often feels like there's no easy way to handle it. You might have tried using a bunch of different libraries or tools, but let's be honest—they can be clunky, complex, or just plain frustrating. But what if I told you there's a way to make it simple?
Well, that's where QuestPDF comes in. It’s a library that truly stands out from the rest. With its easy-to-use fluent API and a lot of cool features, you can create beautiful, professional-looking PDFs without all the headaches. So, in this post, I’m going to show you how you can create some PDFs effortlessly using QuestPDF.
We just released a completely FREE 7-day trial on my online learning platform, Dometrain. Sign up for a free Dometrain Pro trial and get access to 10 of our courses for 7 days.
What is QuestPDF?
QuestPDF is an open-source, MIT-licensed library for PDF document generation in .NET applications. It offers a fluent API that makes it easy to design complex layouts using a code-first approach. QuestPDF focuses on performance, modularity, and ease of use, allowing developers to create PDFs very fast with great tooling that can help them debug any issues.
QuestPDF has 3 available licenses at the time that this post is written.
- Community: Free to use for companies with less than 1M USD annual gross revenue.
- Professional: Applicable for 10 software developers.
- Enterprise: Applicable for any number of software developers.
Key features include:
- Easy-to-use fluent API.
- Highly customizable layouts.
- Support for tables, headers, footers, and other structured content.
- Ability to use any font, including embedded fonts.
Getting Started
To get started, you need to run the following command to install the previewer that we are going to use in our examples:
dotnet tool install QuestPDF.Previewer --global
If you want to avoid using the legacy previewer, you can also download the latest companion app available and follow their instructions on how to use it: https://www.questpdf.com/companion/usage.html.
Let's walk through creating a simple PDF document that displays "Hello, World!". After creating a simple console application and installing QuestPDF.
To install QuestPDF, you can use the .NET CLI:
dotnet add package QuestPDF
or the NuGet package manager:
Install-Package QuestPDF
After installing the package, we can write the following Hello World example:
Document.Create(container =>
{
    container.Page(page =>
    {
        page.Content()
            .Padding(50)
            .Text(text =>
            {
                text.Span("Hello, World!").FontColor(Colors.Red.Accent4);
            });
    });
})
.ShowInPreviewer();
Running this application will give us a new PDF with a preview looking like this:
Pretty neat, right? A red hello world doesn't help much, so let's do a more advanced example to explore the power of this library.
Advanced Examples
Let's create an example that can have logic inside it. Even though we are going to be using a random number, you can use whatever boolean you need to create your PDF:
Document.Create(container =>
{
    container.Page(page =>
    {
        page.Size(PageSizes.Letter);
        page.Margin(1, Unit.Inch);
        page.PageColor(Colors.Grey.Lighten3);

        page.Content()
            .Column(column =>
            {
                column.Spacing(15);
                var randomNumber = Random.Shared.Next(0, 2);

                bool includeSection = randomNumber is 0;

                if (includeSection)
                {
                    column.Item().Text("I am the one who knocks.")
                        .Bold()
                        .FontSize(69)
                        .FontColor(Colors.Green.Darken1);
                }

                column.Item().Row(row =>
                {
                    row.RelativeItem()
                       .Text("Are you talking to me?!")
                       .FontSize(18);

                    row.ConstantItem(100)
                       .Image(Placeholders.Image(420, 690));
                });
            });
    });
})
    .ShowInPreviewer();
Sometimes, you will be the one who knocks. Now let's move on to another more detailed example and then explain it:
Document.Create(containter =>
{
    containter.Page(page =>
    {
        page.Size(PageSizes.A4);
        page.Margin(2, Unit.Centimetre);
        page.PageColor(Colors.White);
        page.DefaultTextStyle(x => x.FontSize(20));

        page.Header()
            .Text("I am the head")
            .SemiBold().FontSize(30).FontColor(Colors.Blue.Medium);

        page.Content()
            .PaddingVertical(1, Unit.Centimetre)
            .Column(x =>
            {
                x.Spacing(20);
                x.Item().Text(Placeholders.LoremIpsum());
                x.Item().Image(Placeholders.Image(200, 100));
            });

        page.Footer()
            .AlignCenter()
            .Text(x =>
            {
                x.Span("Page ");
                x.CurrentPageNumber();
            });
    });
}).ShowInPreviewer();
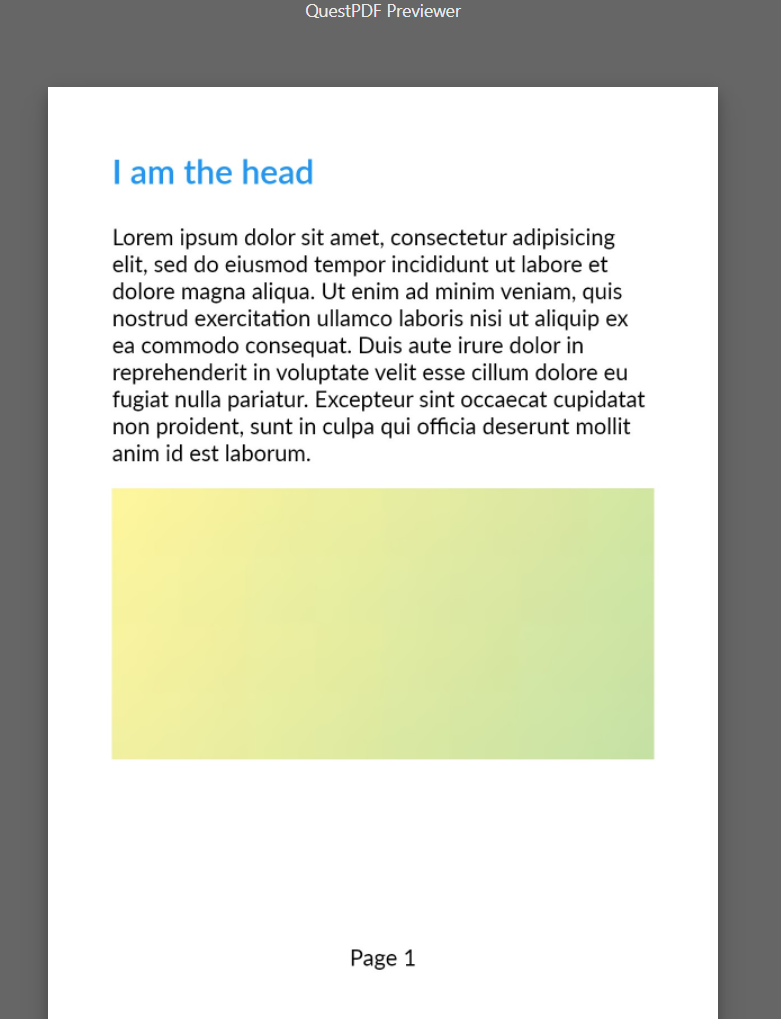
This example demonstrates how to use QuestPDF to generate a PDF by configuring a page with specific settings such as A4 size, margins, white background color, and default text style with a font size of 20. It adds a header displaying "I am the head" in a semi-bold, blue font with a larger size of 30. The content section includes vertically padded elements arranged in a column with spacing, containing placeholder text and an image of specified dimensions. Finally, it adds a footer centred with the current page number and utilizes the QuestPDF previewer to display the generated PDF.
The result of the code above will look like this:
Now let's see how we can save the file locally and how we can get a MemoryStream to be able to send the PDF to be downloaded.
To save it in a specific path, you can do this:
Document.Create(container =>
{
    container.Page(page =>
    {
        page.Content()
            .Padding(50)
            .Text(text =>
            {
                text.Span("Hello, World!").FontColor(Colors.Red.Accent4);
            });
    });
})
.GeneratePdf("C:\\temp\\example.pdf");
And if you want to retrieve the byte array to be able to save it in the DB, you can do the following:
byte[] pdfBytes;

using (var stream = new MemoryStream())
{
    Document.Create(container =>
    {
        container.Page(page =>
        {
            page.Content()
                .Padding(50)
                .Text(text =>
                {
                    text.Span("Hello, World!").FontColor(Colors.Red.Accent4);
                });
        });
    })
    .GeneratePdf(stream);

    pdfBytes = stream.ToArray();
}
Real-world Use Cases
Here are some practical applications where QuestPDF can be extremely helpful:
- Invoices and Receipts: Automate the generation of receipts for purchases made online.
- Reports: Create downloadable reports for data collected over time.
- Documents: Create documents necessary for your organization.
Conclusion
As we saw QuestPDF can make the creation of PDFs super easy. The fact that you have a viewer that can show you instantly how your PDF looks like is a total game changer in my opinion since it boost productivity by a lot. Have you worked with PDFs in the past? Are they necessary in your organization? Hope you enjoyed it and as always, keep coding.
If you liked the library, consider giving it a star on GitHub or, even better, donating some money to the creators:
https://github.com/QuestPDF/QuestPDF
Next steps
Dometrain's 7-day trial is now live, so try it for free and get access to 10 DOmetrain courses for 7 days.


Discussion